Our form activity, is our swiss army knife of activities. With a multitude of question types, you can utilise this type of activity for any of your projects. Whether you want to collect quant data, ask long form questions or ask participants to rank statements or products you can do it in a form!
NOTE: Below is a list of the question types available when using our form activity, this article will go through setting up our most common types of questions, for all other question types the relevant articles are linked below:
To set up a form activity follow these steps:
1. Select Form activity from the list of activities that appear after you have selected 'add new activity' in the activity edit screen. 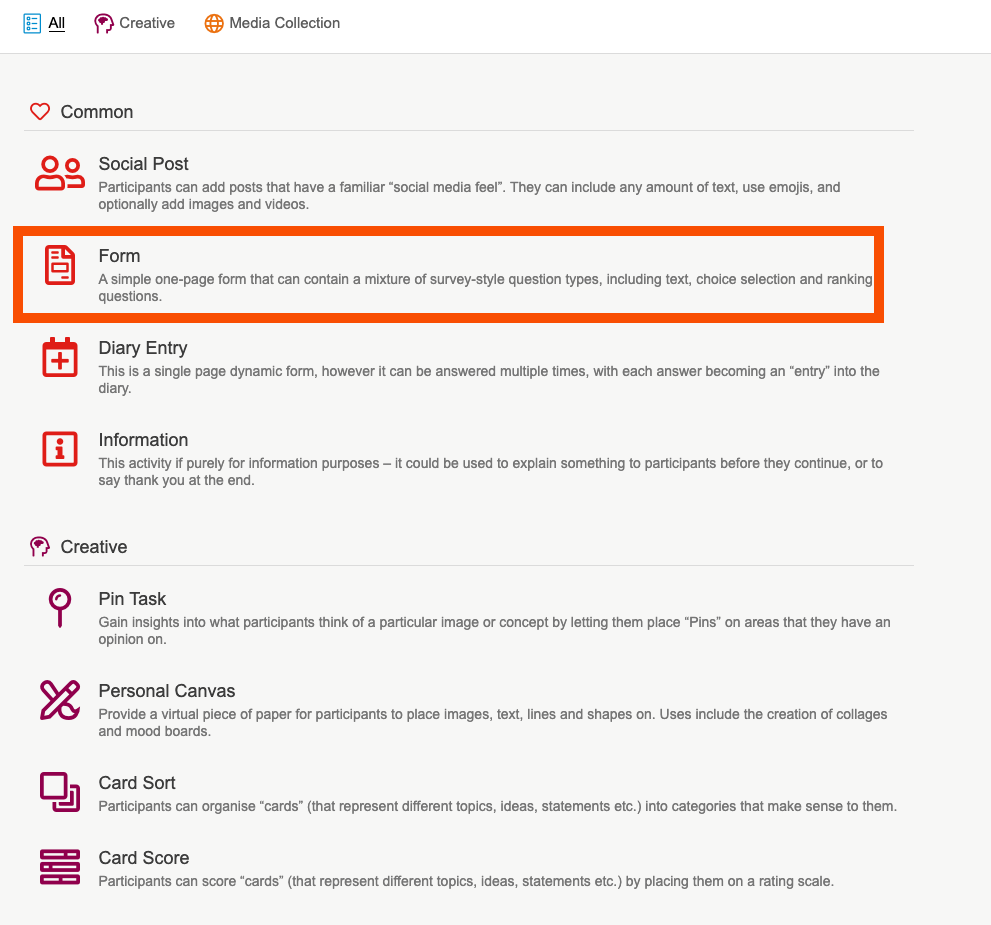
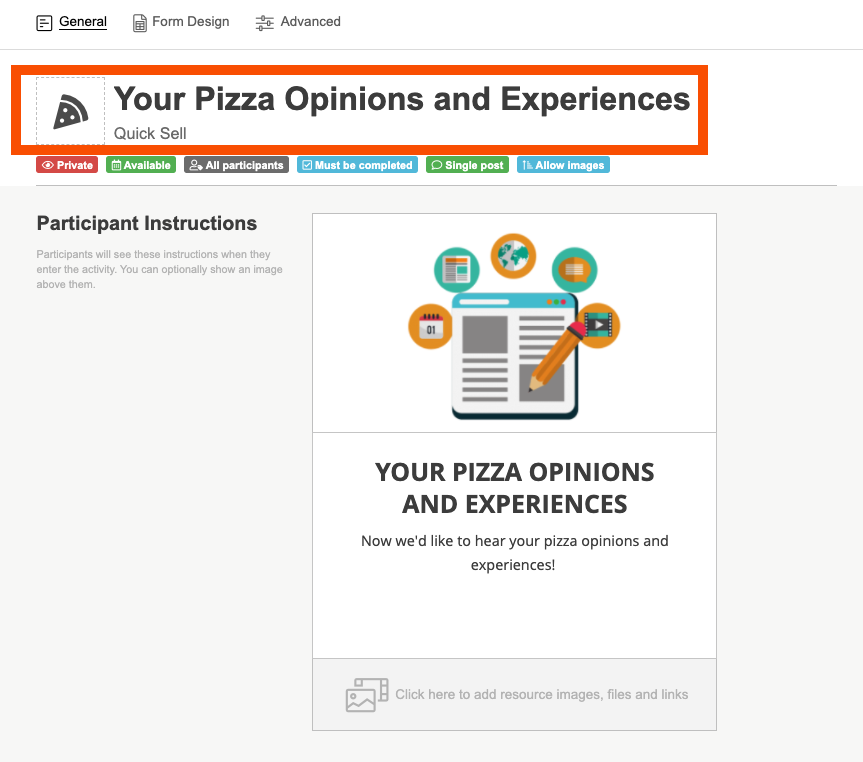
2. Give your activity a title, and an optional quick sell. A quick sell can be used to give a little bit of information about the activity, or to let a participant know they have a certain amount of time to complete it.
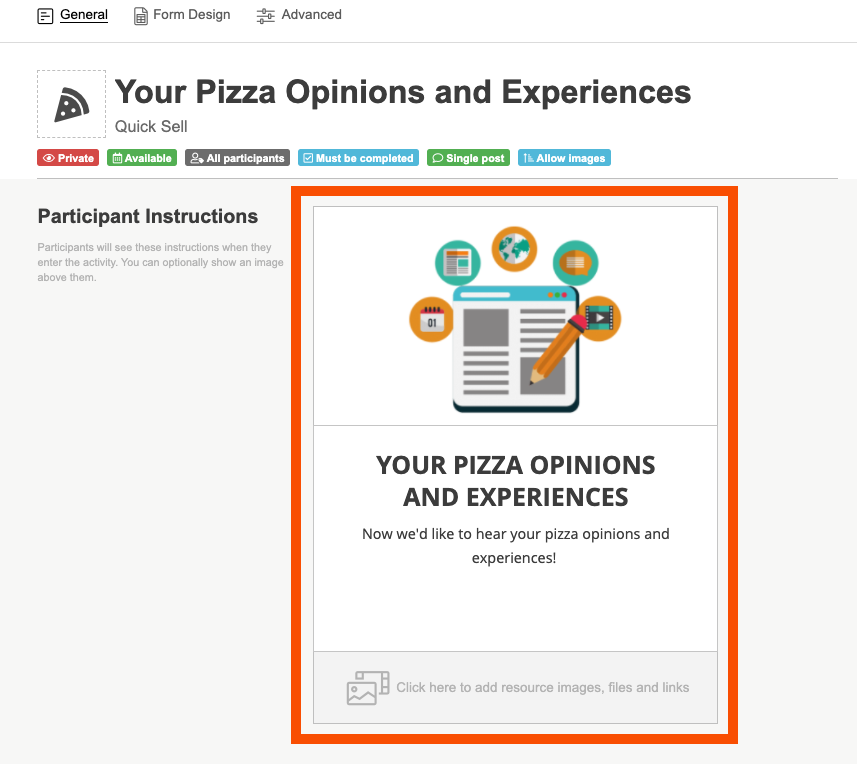
3. Use the instruction builder, to enter in the activity information and a short overview of the activity and the questions they will answer. Add in a header image either by uploading your own, or choosing an image from the pixabay and unsplash search engines.
TIP: There are a few different blank boxes where you can enter content in the instruction builder, if you do not need to use a particular box then you can leave it blank. The bulleted list will put each piece of text you enter into its own bullet. Hit the return key between each item to start the next bullet.
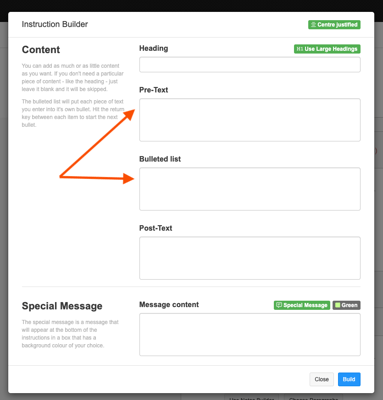
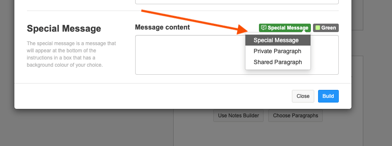
You can also choose to add a special message. The special message is a message that will appear at the bottom of the instructions in a box that has a background colour of your choice. There are a few standard messages which you can select from the dropdown, or type in your own message and choose the colour of the box.
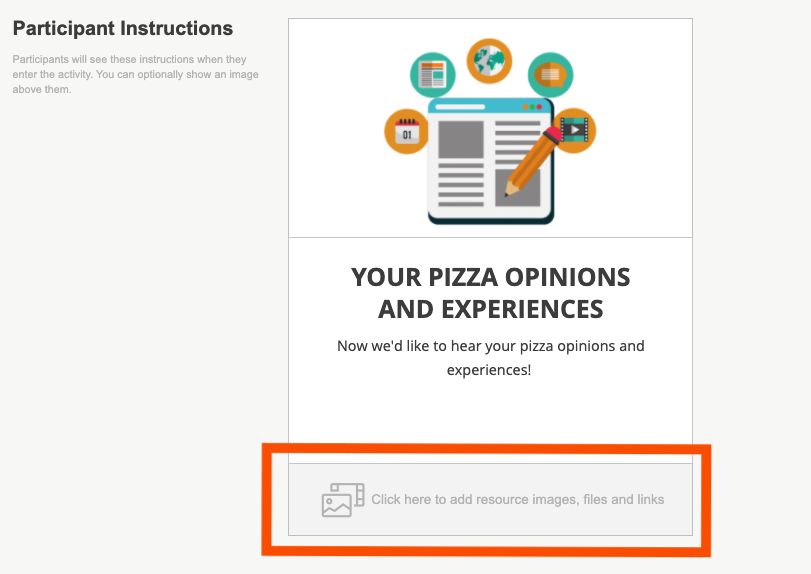
4. You can add in any resource images, videos, or files that a participant may need to complete the activity or use for extra information in the resources section at the bottom of the participant instructions box.
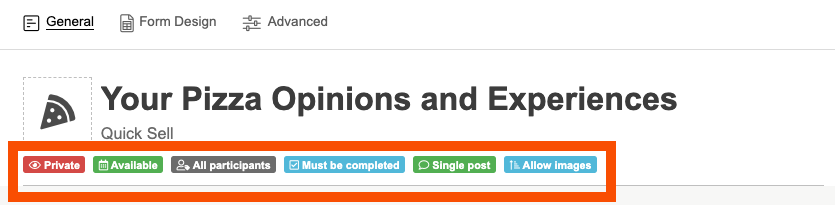
5. Make sure all of your settings including privacy level, availability, and whether or not it must be completed are set to how you need them. You can find out more about how to change activity settings by reading our articles here.
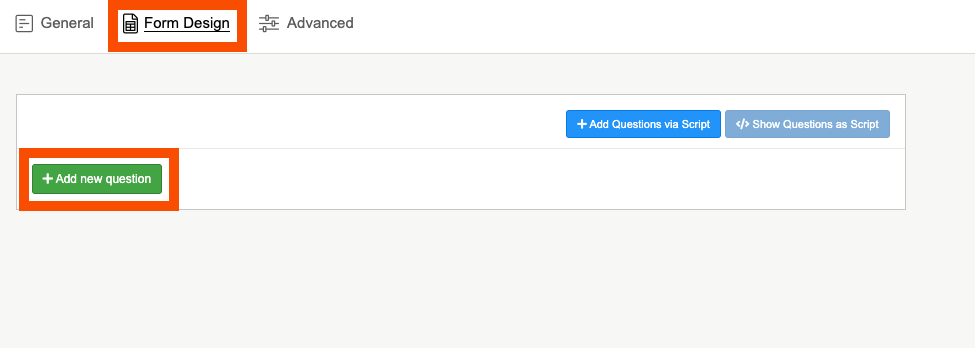
6. Once you are happy with the content, select the 'Form Design' tab to begin uploading your questions. To add a question, click on the green 'Add question' button and choose your question from the available list.
TIP: On the question list next to our most common question types, you will find the keyboard shortcut to quickly add them in. For example Alt + Shift + 1 will quickly add in a single choice question to your form.
The rest of this article will go through how to set up the most common question types that are available in the form activity. You can use the list at the top of the page to skip ahead to the question types that are relevant to you and your project and head to our other articles on Instruction, Media Uploads and Advanced question types to find out how to set them up.
Common Question Types
Single Choice
The single choice questions allows a participant to select one choice out of the many choices, this could be used give a product or statement a rating or to choose their number one favourite pizza topping. To add in a single choice question to your form, follow these steps:
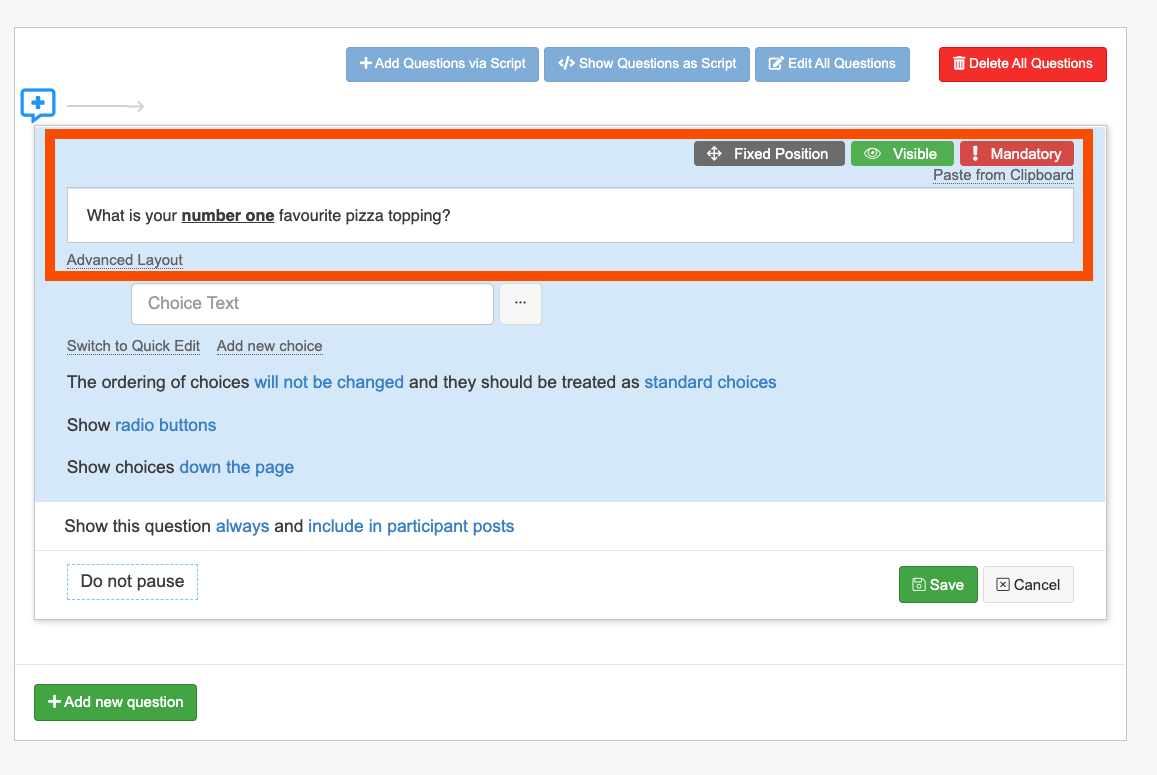
1. Firstly select 'single choice' from the question list, and add in your question in the question text box.
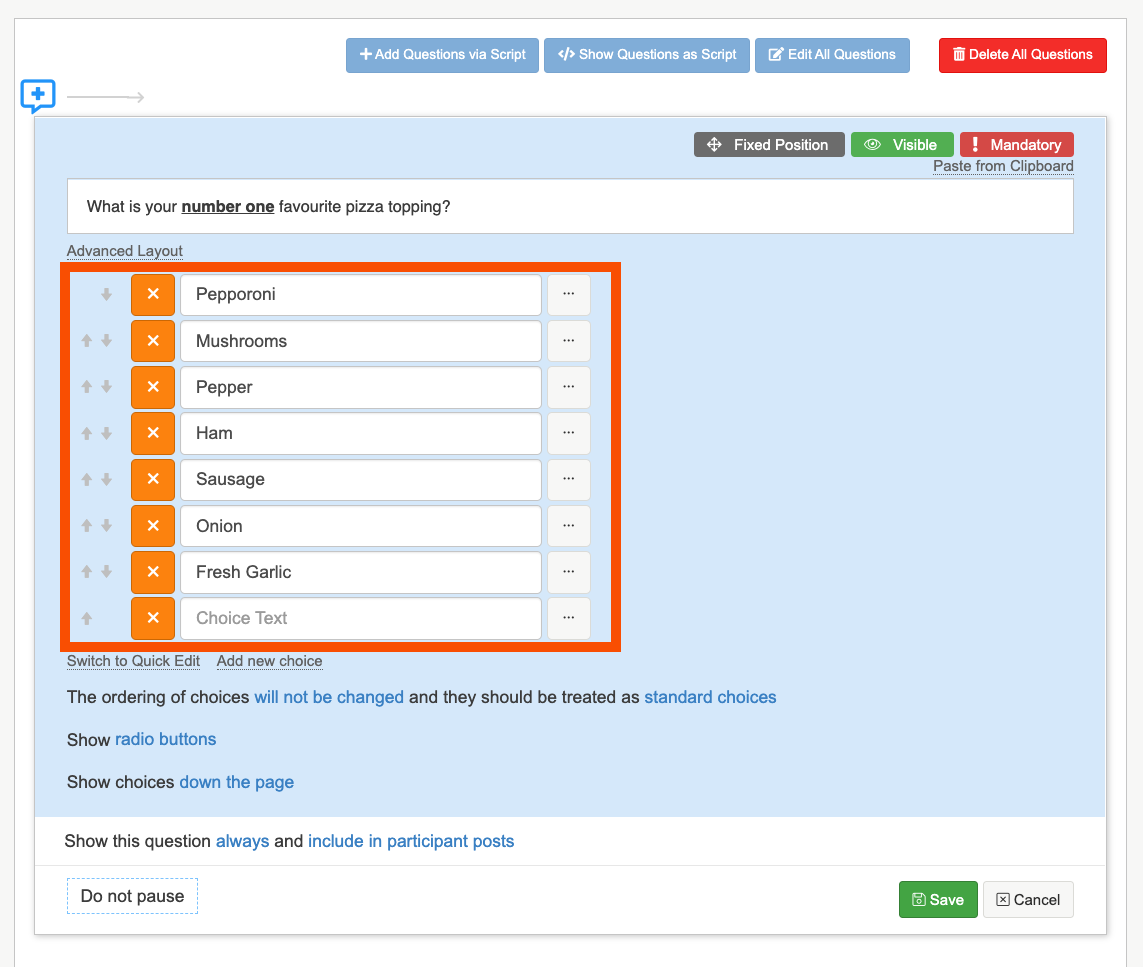
2. Next add in your choices in the Choice text box. You can select 'switch to quick edit' to easily copy and paste in a list of choices.
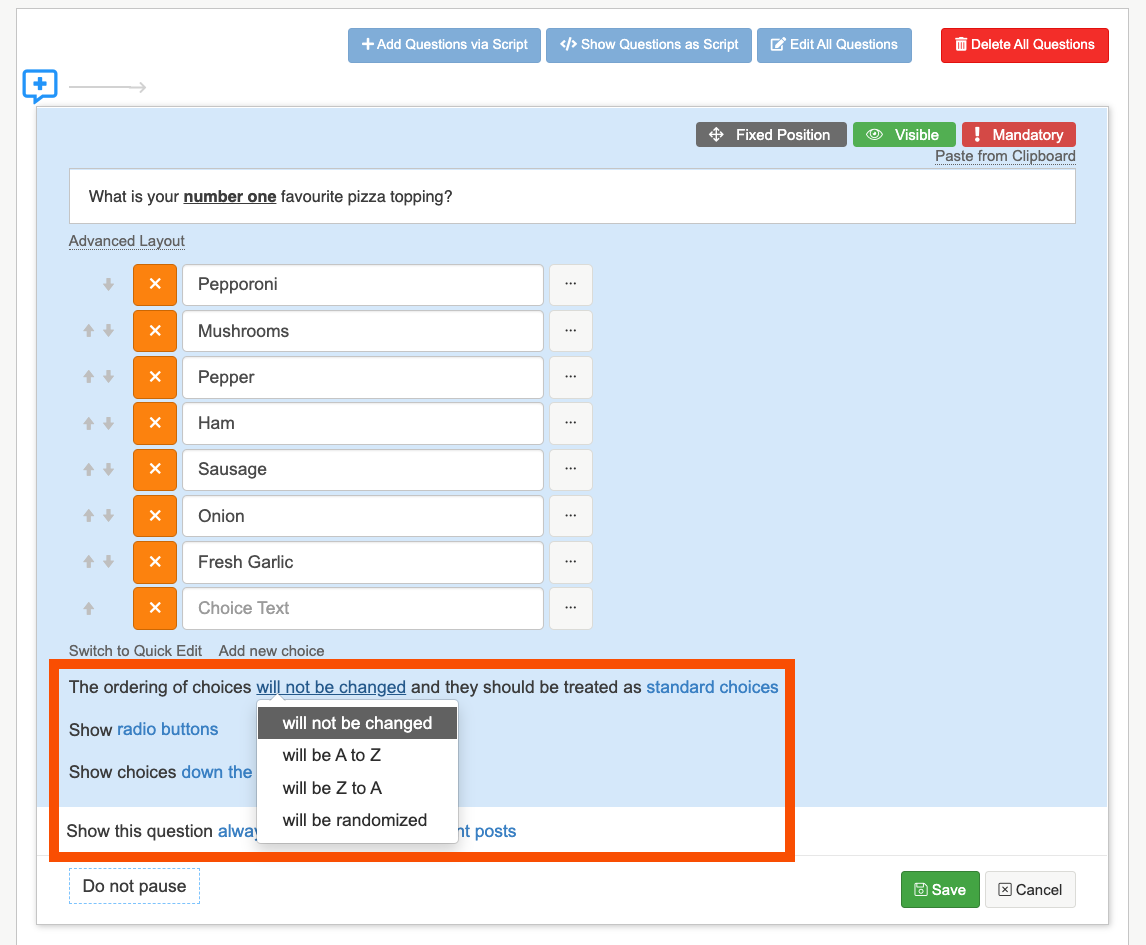
3. After you have entered in your choice, you can choose whether or not you want the choices randomised, or to stay the same and if they should be treated as standard choices or as a rating scale. We recommend choosing rating scale, if your participants are choosing whether they like or dislike something so in analysis the data reads as a scale.
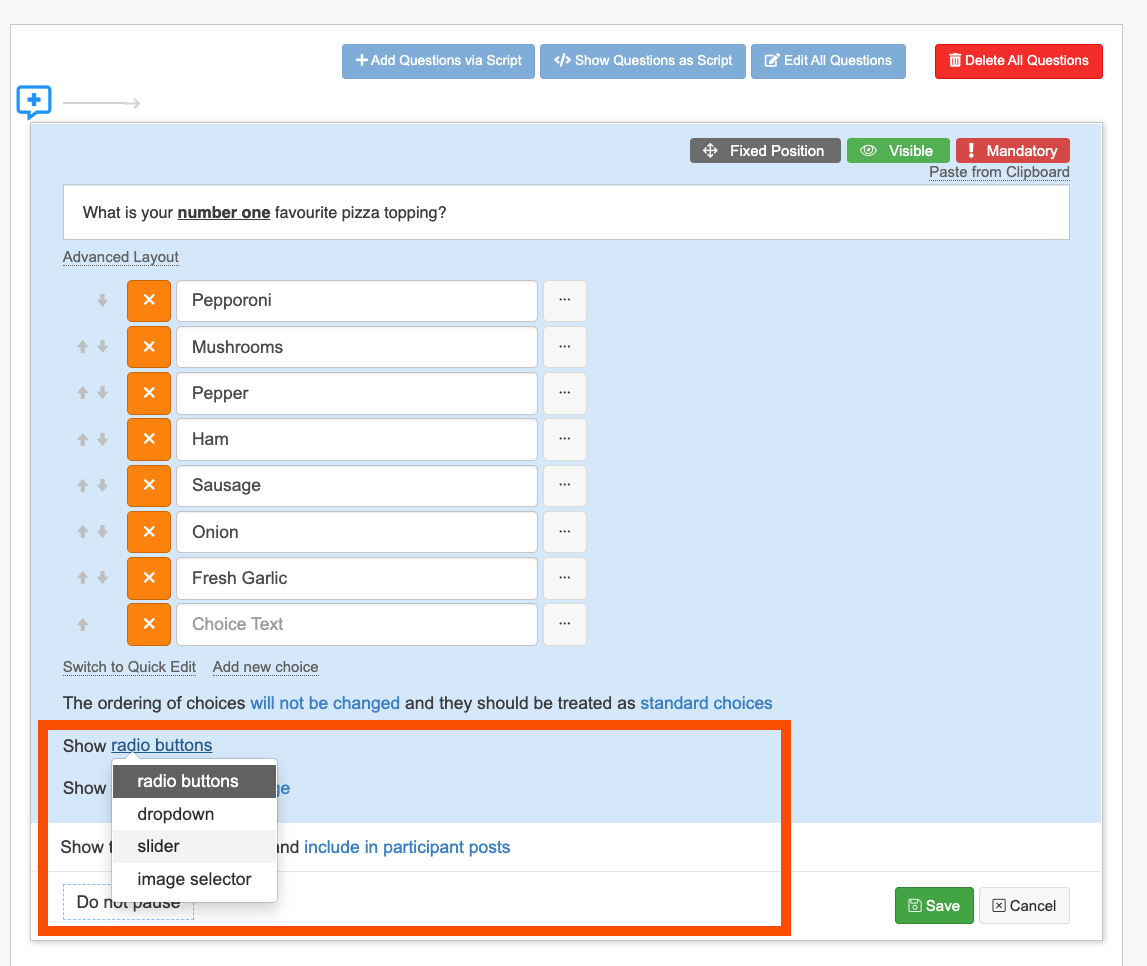
 4. You can also choose if you want the choices to as radio buttons, a dropdown menu or slider. If you select slider it will turn your choices into a scale type question and you can choose if you want to show all of the values, or a select few. If you select radio button, you can choose whether or not to have your choices down the page or across the page.
5. Once you are happy with content of the question, and the layout click on the green save button to save the question.
For advanced single choice settings, you can read our article on advanced form question settings here.
Multiple Choice
The multiple choice question will allow a participant to select more than one choices out of the many choices available to them.
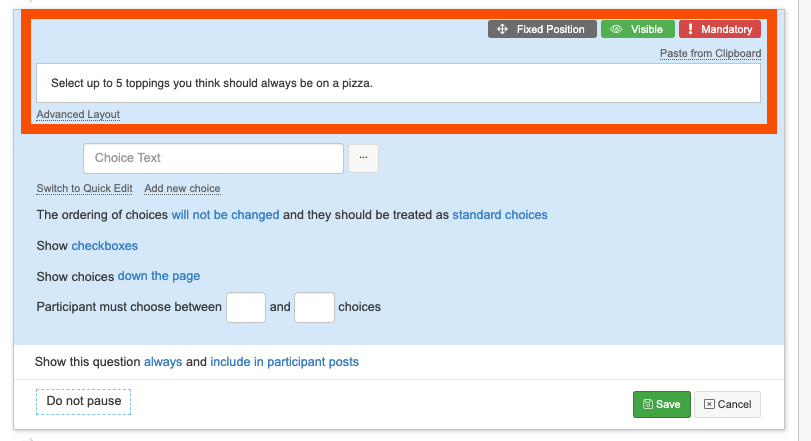
1. Firstly select 'multiple choice' from the question list, and add in your question in the question text box.
2. Next add in your choices in the Choice text box. You can select 'switch to quick edit' to easily copy and paste in a list of choices.
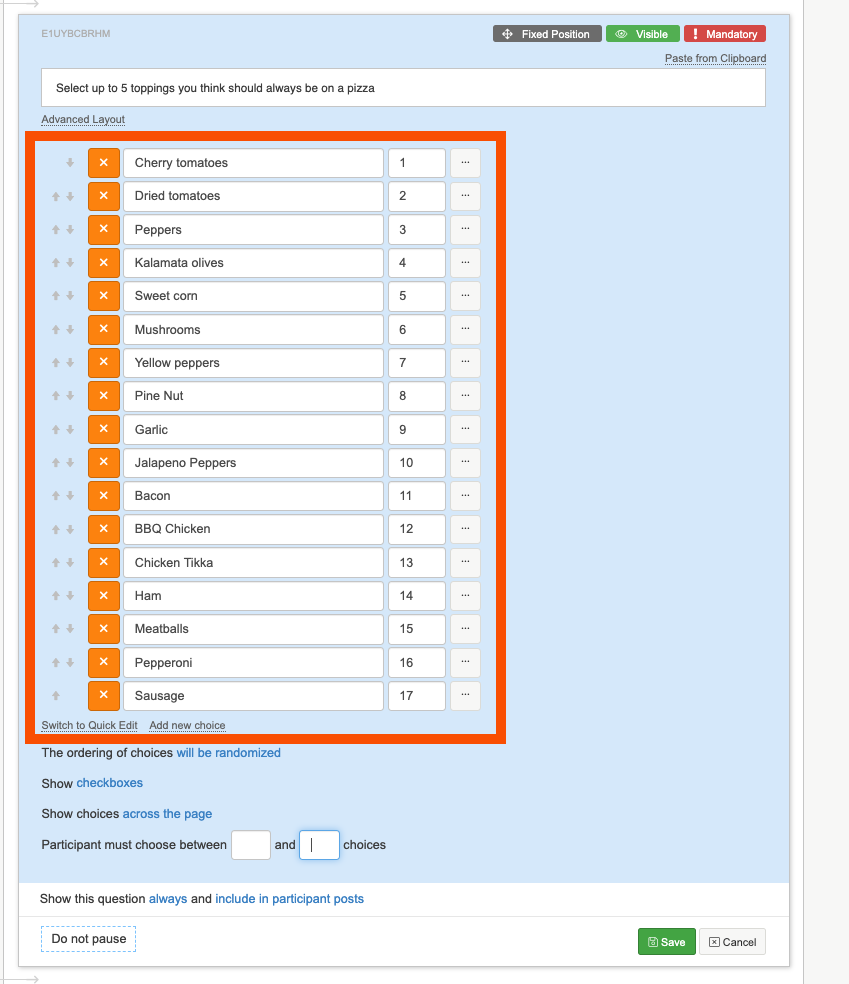
3. Select whether or not you would like the order of the choices to be randomized for each participant.

4. Next select if you would like the choices to be across the page or down the page, and how many choices participants can make. Here we are asking them to choose up to 5 toppings, so we will say 'participants must choose between 1 and 5 choices'.

5. When you are happy with the question set up, click on the green 'save' button to finalise creating your multiple choice question.
For advanced multiple choice settings, you can read our article on advanced form question settings here.
Short Text
You can use a short text question type to create a question that will allow a participant to enter a short piece of text, generally not more than one line. For example you could be asking them to write down one word that sums up pizza to them.
1. Select 'short text' from the question type list, it will appear underneath the common question types.
2. Enter in your question text in the question text box.
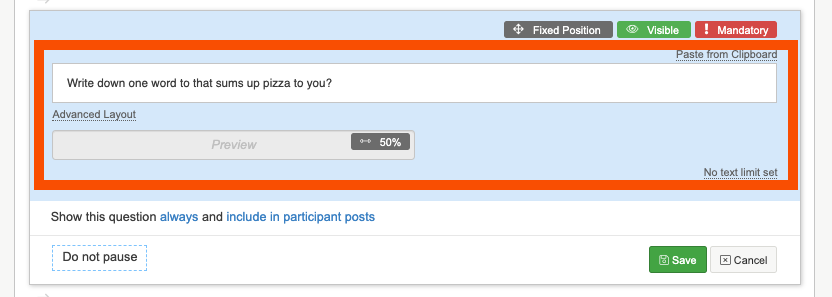
3. You change the width of the box, by clicking on the small grey box in the preview bar.

4.When you are happy click on the green 'save' button to finalize adding in your short text question.
Long Text
You can use a long text question type to create a question that will allow a participant to enter a long piece of text, generally spanning more than one line.
1. Select 'long text' from the question type list, it will appear underneath the common question types.
2. Enter in your question text in the question text box
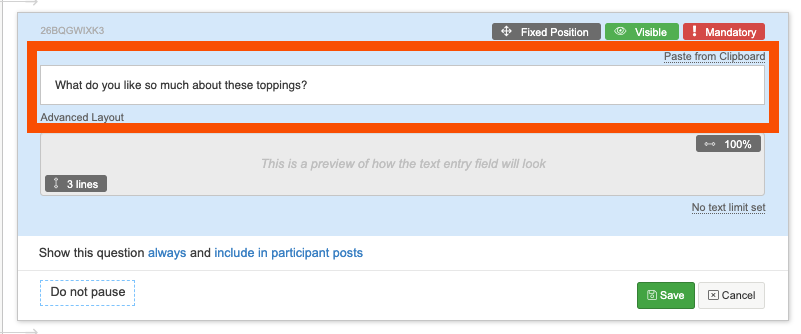
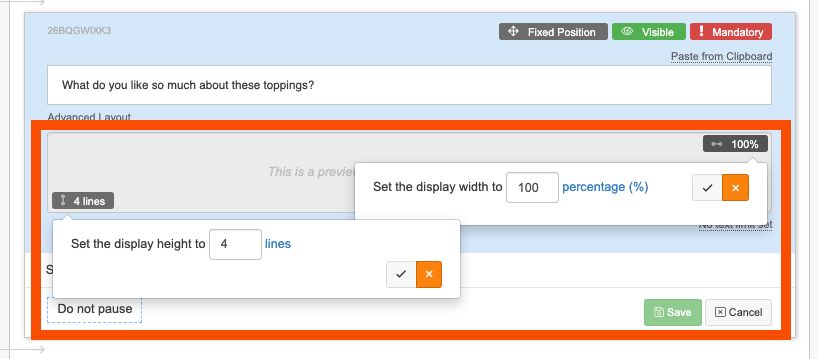
3. You can change the height and the width of the box by clicking the small grey boxes in the grey preview bar. The bottom box adjusts the height, and the box in the right hand corner adjusts the width of the box.
4. When you are happy click on the green 'save' button to finalize adding in your long text question.
Numeric
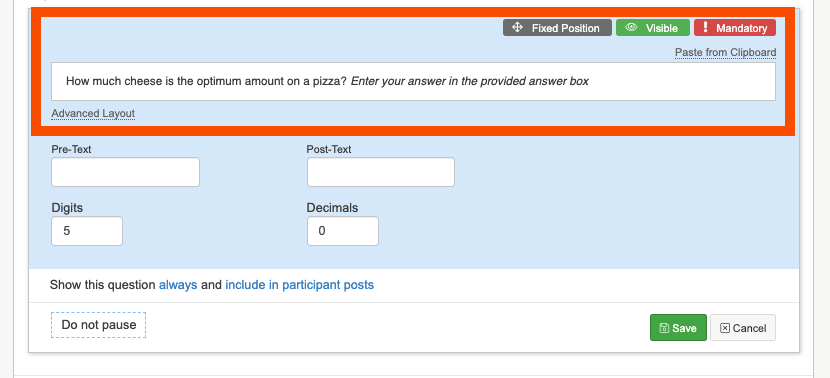
A numeric question type is great for creating a question that will allow a participant to enter their response as a number. You can set Pre-Text and Post-Text in the question settings. For example you might want to ask participants how much cheese in grams in they add to their pizza.
1. Select '"Numeric' from the question type list, it will appear underneath the common question types.
2. Enter in your question text in the question text box
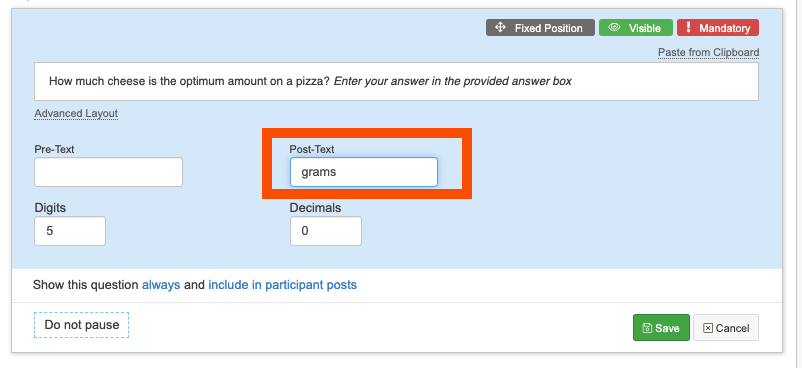
3. You can enter in some pre or post text that will appear either side of the answer box. As i want my participants to enter their answer in grams, i am going to add this to the 'Post-text' box.
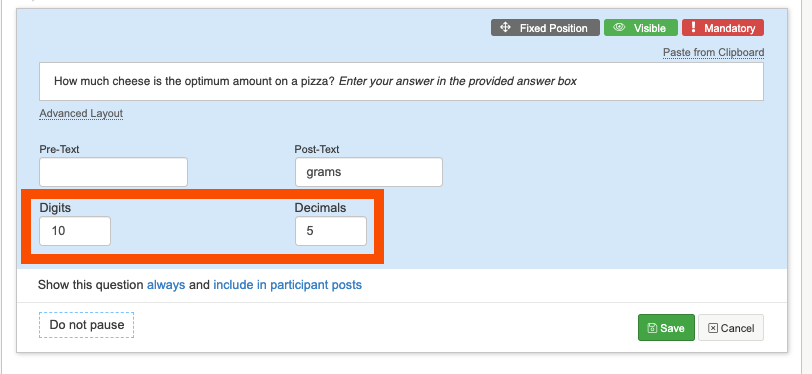
4. Next choose how many digits, and decimals places you would like numbers to have. The maximum number of digits a number can have is 10 and the maximum number of decimals is 5.
5. When you are happy with the content of the question, click on the green 'save' button to finalise creating your numeric question.
To find out more about creating Instruction, Media upload and advanced questions please read our articles below:
- Adding Instruction questions into a form activity
- Adding Media Upload questions into a form activity
- Adding advanced questions into a form activity
- Advanced form question settings
If you need any more assistance, or have any questions then please get in touch with our friendly support team who will gladly assist you. You can reach them at hello@qualzy.co.uk