
A summary of the advanced question settings in a form activity on the Qualzy platform.
Our previous articles on form activities would of gone through how to set up the basics. This article will go through some of the more advanced settings, including advanced layout, pause and then continue option and how to show stimulus for a certain period of time.
NOTE: You can use the contents table below to skip ahead to the relevant question settings for you project:
- Advanced Layout
- Pause & Continue
- Showing stimulus for a certain period of time
- Multiple & Single choice advanced settings
- Moving Questions
- Duplicating Questions
- Showing questions based on tags
Please read our article on setting up a form activity first, you can find it here
Advanced Layout
In advanced layout, you can add an image and header to your question, or add in some help text. All of these options are optional.
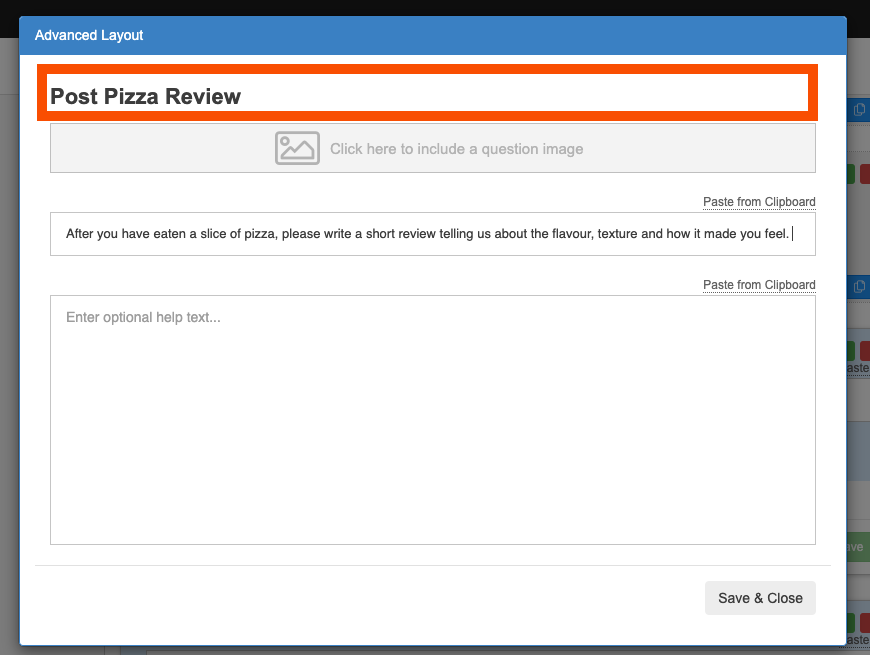
1. To get to the advanced layout screen, click on the 'advanced layout' link just beneath the question text box.

2. This link will bring up the advanced layout box where you can add in an optional header. You might want to add in a header if you had a group of questions about a specific theme.
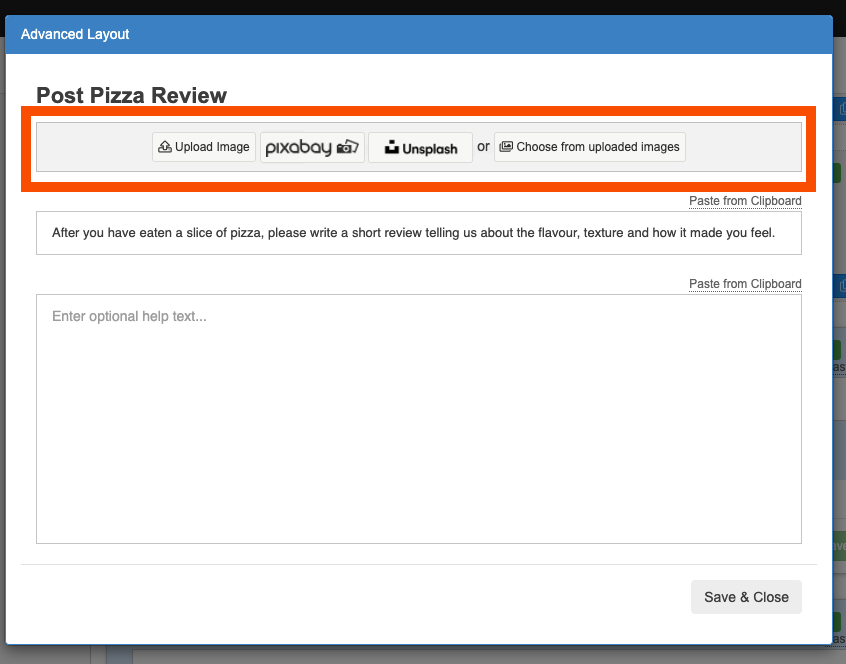
3. You can optionally include a question image, if you wanted to show a piece of stimulus and ask a question on it, this is another in which you can show that image. You can upload the image from your desktop or use our pixabay and unsplash search engines to find your perfect picture.
You can also add in static images to show stimulus, you can find out more them here.
4. You might want to enter in some optional help text to add in further information, or ask some sub questions the participant can think about in their answer.
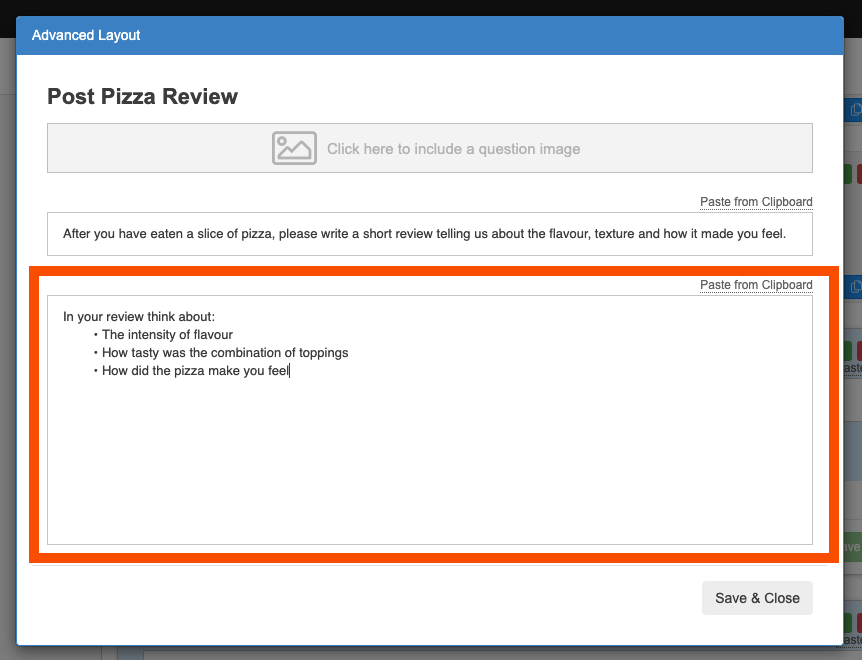
5. When you have added in extra bits of content, click on the grey 'save & close' button to save your changes and close the advanced layout box.
Pause & Continue
You might want to break up your questions, or stop participants reading ahead. The best way to do this is by adding in a Pause & Continue button. This means participants will need to complete all of the questions before being allowed to press the continue button and move onto the next set of question in the activity (it will not take them to a separate activity).
1. At the bottom of the question box you will see a 'Do not pause' button, this is the default setting. To add in a continue button underneath the question click on the button and change it to 'Pause'.
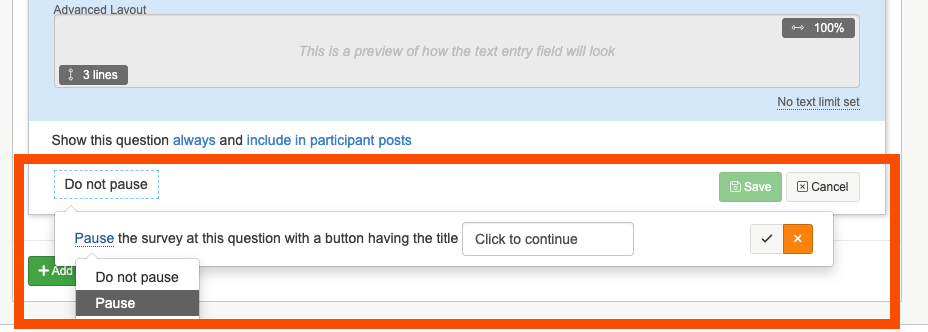
2. You can also change the button text, to read whatever you may fancy. The default button text is 'Click to continue'.
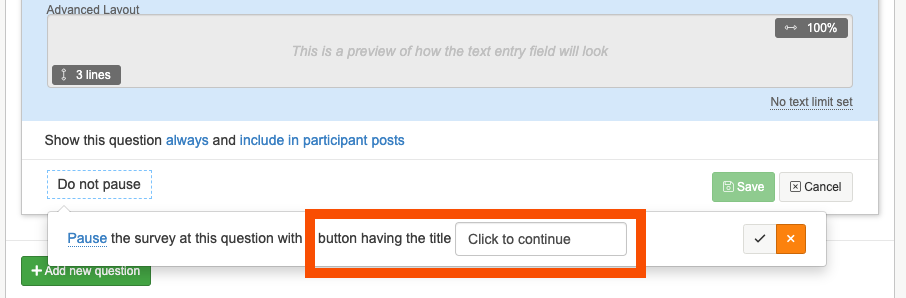
3. Click the grey 'tick' button will finalise the changes you made to the Pause & Continue button.
Pause, Show, Hide & Continue
With notes and static image & videos, you will have a few more Pause & Continue options. These options will allow you to show stimulus on the screen for a certain amount of time before showing questions.
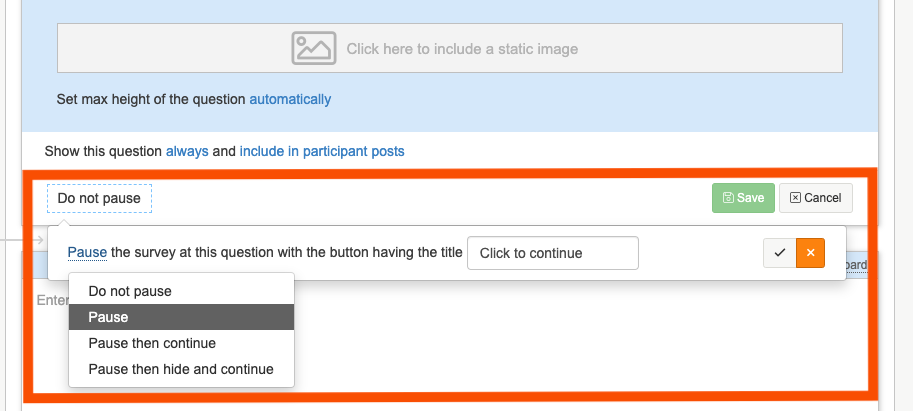
1. Click on the 'Do not pause' button to bring up your options, the bottom two options will show your question on screen for a certain amount of time. The last option will then hide your question after the time is up, this is a good setting to use if you want to show an image or statement on screen, hide it and then ask for your participants initial reaction.
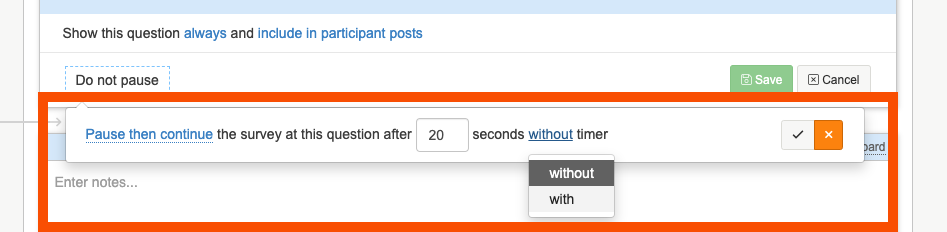
2. For the 'Pause then continue' options enter how many seconds you would like the question to be shown on screen for, and whether or not you would like the timer to be displayed on screen so the participants know how much time is left.
TIP: A minute can feel like a really long time when you are looking at an image or statement, we recommend setting the time for around 20-30 seconds to keep engagement hight.
3. Click on the grey 'tick' button to finalise the changes you made to the Pause and then continue button.
Multiple & Single Choice advanced settings
In previous articles we have gone through how to set up basic multiple and single choice questions. There are few advanced settings you can utilise to help participants, and gather more information.
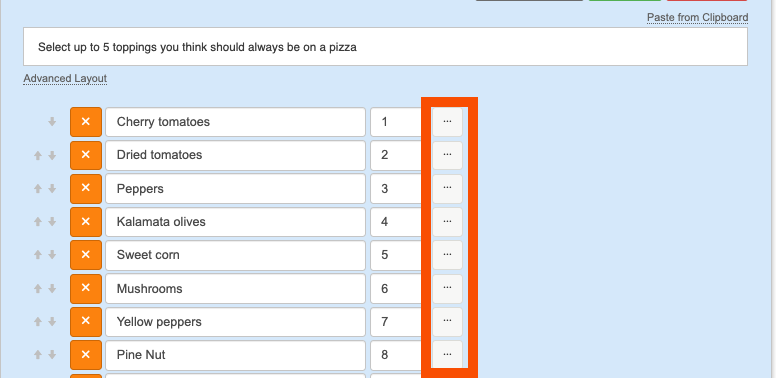
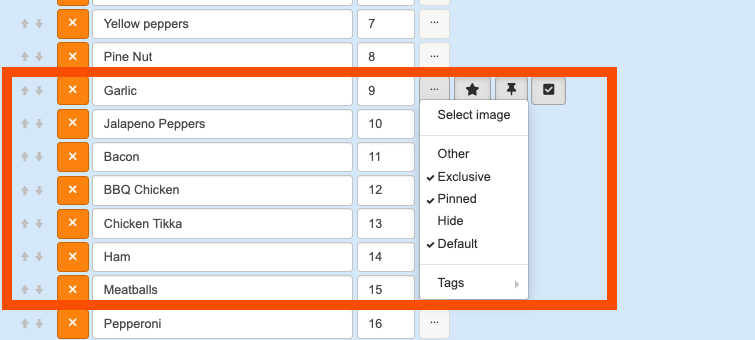
1. The advanced settings can be found by clicking on the ... icon next to the question choices.
2. If you wanted to add in an option where participants can write in a choice, use the 'other' option. This will bring up a text box next to that option and when selected participant can write in a choice of their own.

3. On multiple choice questions you may have a choice that is an exclusive choice, and when selected participants can not select any other choices. You can use the 'Exclusive' option next to that choice to set this up.
4. If you are randomising the ordering of your choices, you may have a choice where you want it to always appear in the same place, by 'pinning' this choice using the pin option, this choice will never be randomised and always appear in that place.
5. You may also want to make it a default choice, by selecting 'Default' in the option menu.
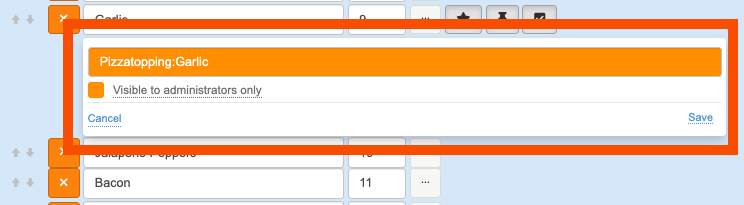
6. If you wanted to add the choice as a tag to the person; perhaps for analysis reasons or to gather more data on participants, you can do this by navigating to the tags section of the option menu, and selecting person tag.
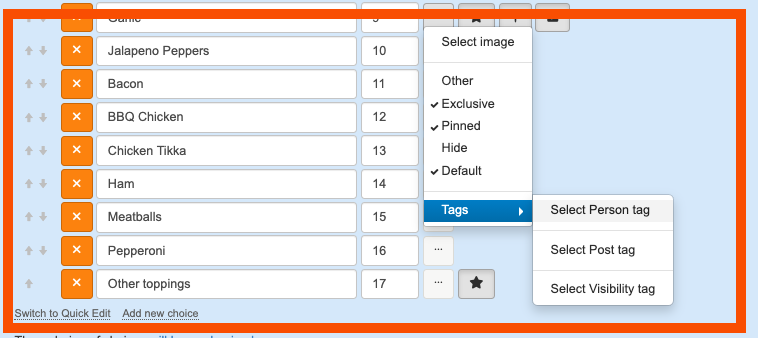
Enter in your tag text, visibility setting and colour before pressing save to add the tag to that choice.
To find out about using multiple and single choice questions to create an image select activity, you can read our article here.
Moving Questions
Once you have added in all of your questions, you may want to move them around into a different order that works slightly better, you can do this by using our move questions function.
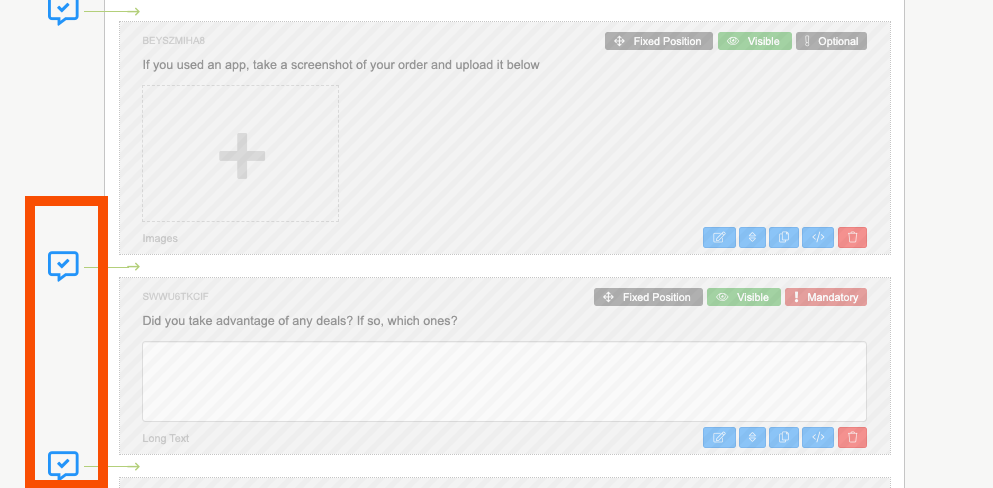
1. Beneath the created question box there is a line of blue icons, and one red one. The second icon along (the two arrows) is the button you will need to click on in order to move your question.
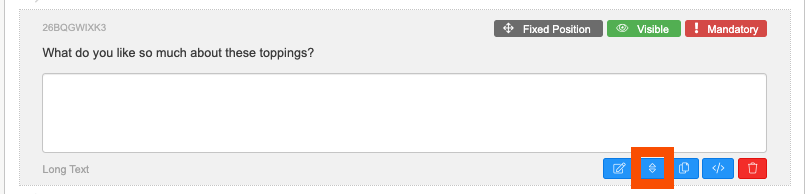
2. When you have selected that button, blue ticks will appear down the left hand side. Click on the blue tick to move the question into that position.
Duplicating Questions
When adding in your question, you may need to add a few of the same type of question. To save time you can duplicate the question and then update the question text.
1. Beneath the created question box there is a line of blue icons, and one red one. The third icon along is the button you will need to duplicate your question.
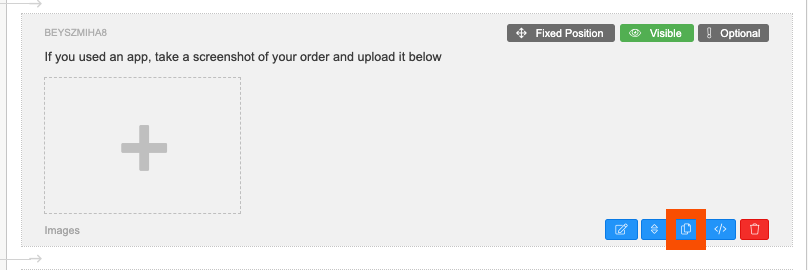
2. Similar to moving questions, when the duplication button is pressed blue ticks will appear down the left hand and you can use these to duplicate your question into a position you want.
Showing questions based on tags
You may have questions that you need to ask to different participants based on person tags. For example you might want to ask a question to participants who order from Dominos and then a different question to participants who order from Pizza hut.
1. To show a question to participants who have a certain tag, you will need to select 'always' to bring up the different visibility options.
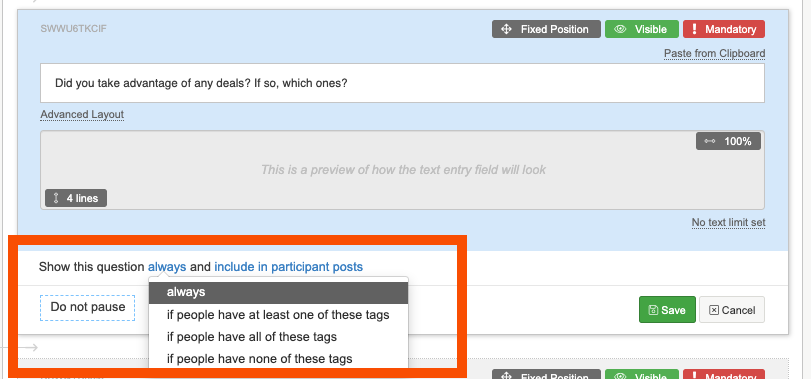
2. Select the option you would like to go for, the most used and recommend option is 'if people have at least one of these tags' . This will bring up the 'Add Tag' box. Click on this to add in your tag, you can either select it from the list that appears or type in your tag in the black 'Tag' box.
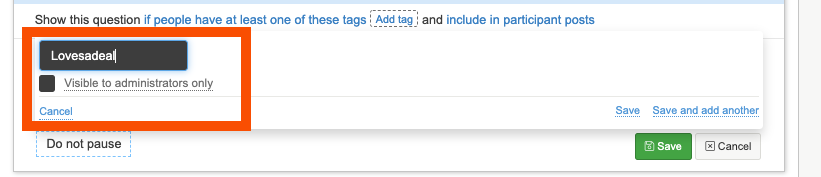
3. Select save to add the tag to the question. N.B you will need to make sure that the participants are tagged with same tag so the question is shown to them
If you need any more assistance, or have any questions then please get in touch with our friendly support team who will gladly assist you. You can reach them at hello@qualzy.co.uk