What information should I include in the project introduction?
Participants will see the introduction when they enter the project, it is good practice to make sure they have all of the information they need before they start completing activities. Here are a few things you may wish to include:
- A quick welcome and brief summary about the project.
- An overview of the activities they will need to complete.
- What is expected of them, and any reward/pay they might receive on completion.
- Moderator contact details, in case they need to get in contact with you.
To set up your project introduction, follow these steps:
1. Give your project a title, N.B this title will be seen by participants in their notification emails
2. You can add in a quick sell and a task reference number to your project introduction. This is useful if you have many project on the platform, or by the same client.

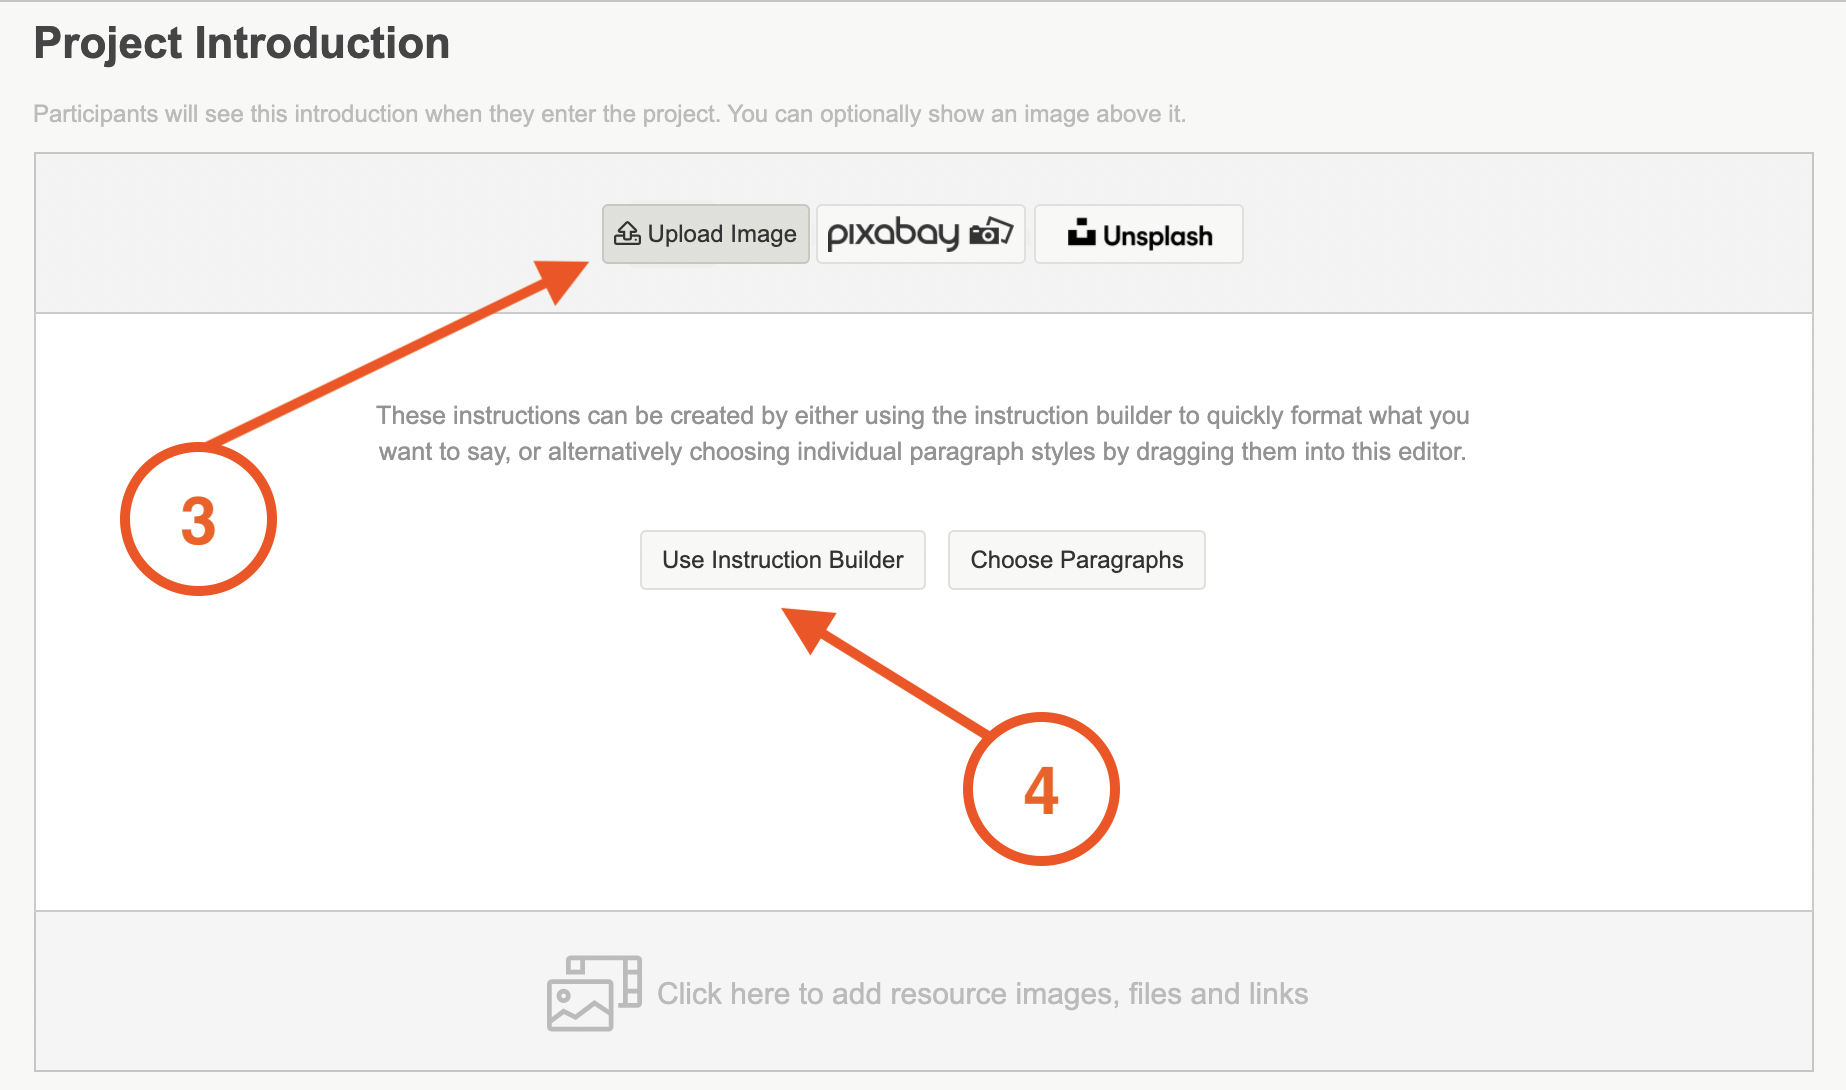
3. Once you have added your title and quick sell, you can add in a header image. You can either upload your own image, or use pixabay and unsplash to search for the perfect image.
4. The next step will be to add in your project introduction, this is where you will welcome the participants and let them know what they can expect. We highly recommend using the Instruction Builder as it is simple to use.
5. To use the Instruction Builder, click on the instruction builder icon to bring up the pop-up screen where you can enter your project introduction.
There are a few different blank boxes where you can enter content, if you do not need to use a particular box then you can leave it blank. The bulleted list will put each piece of text you enter into its own bullet. Hit the return key between each item to start the next bullet.
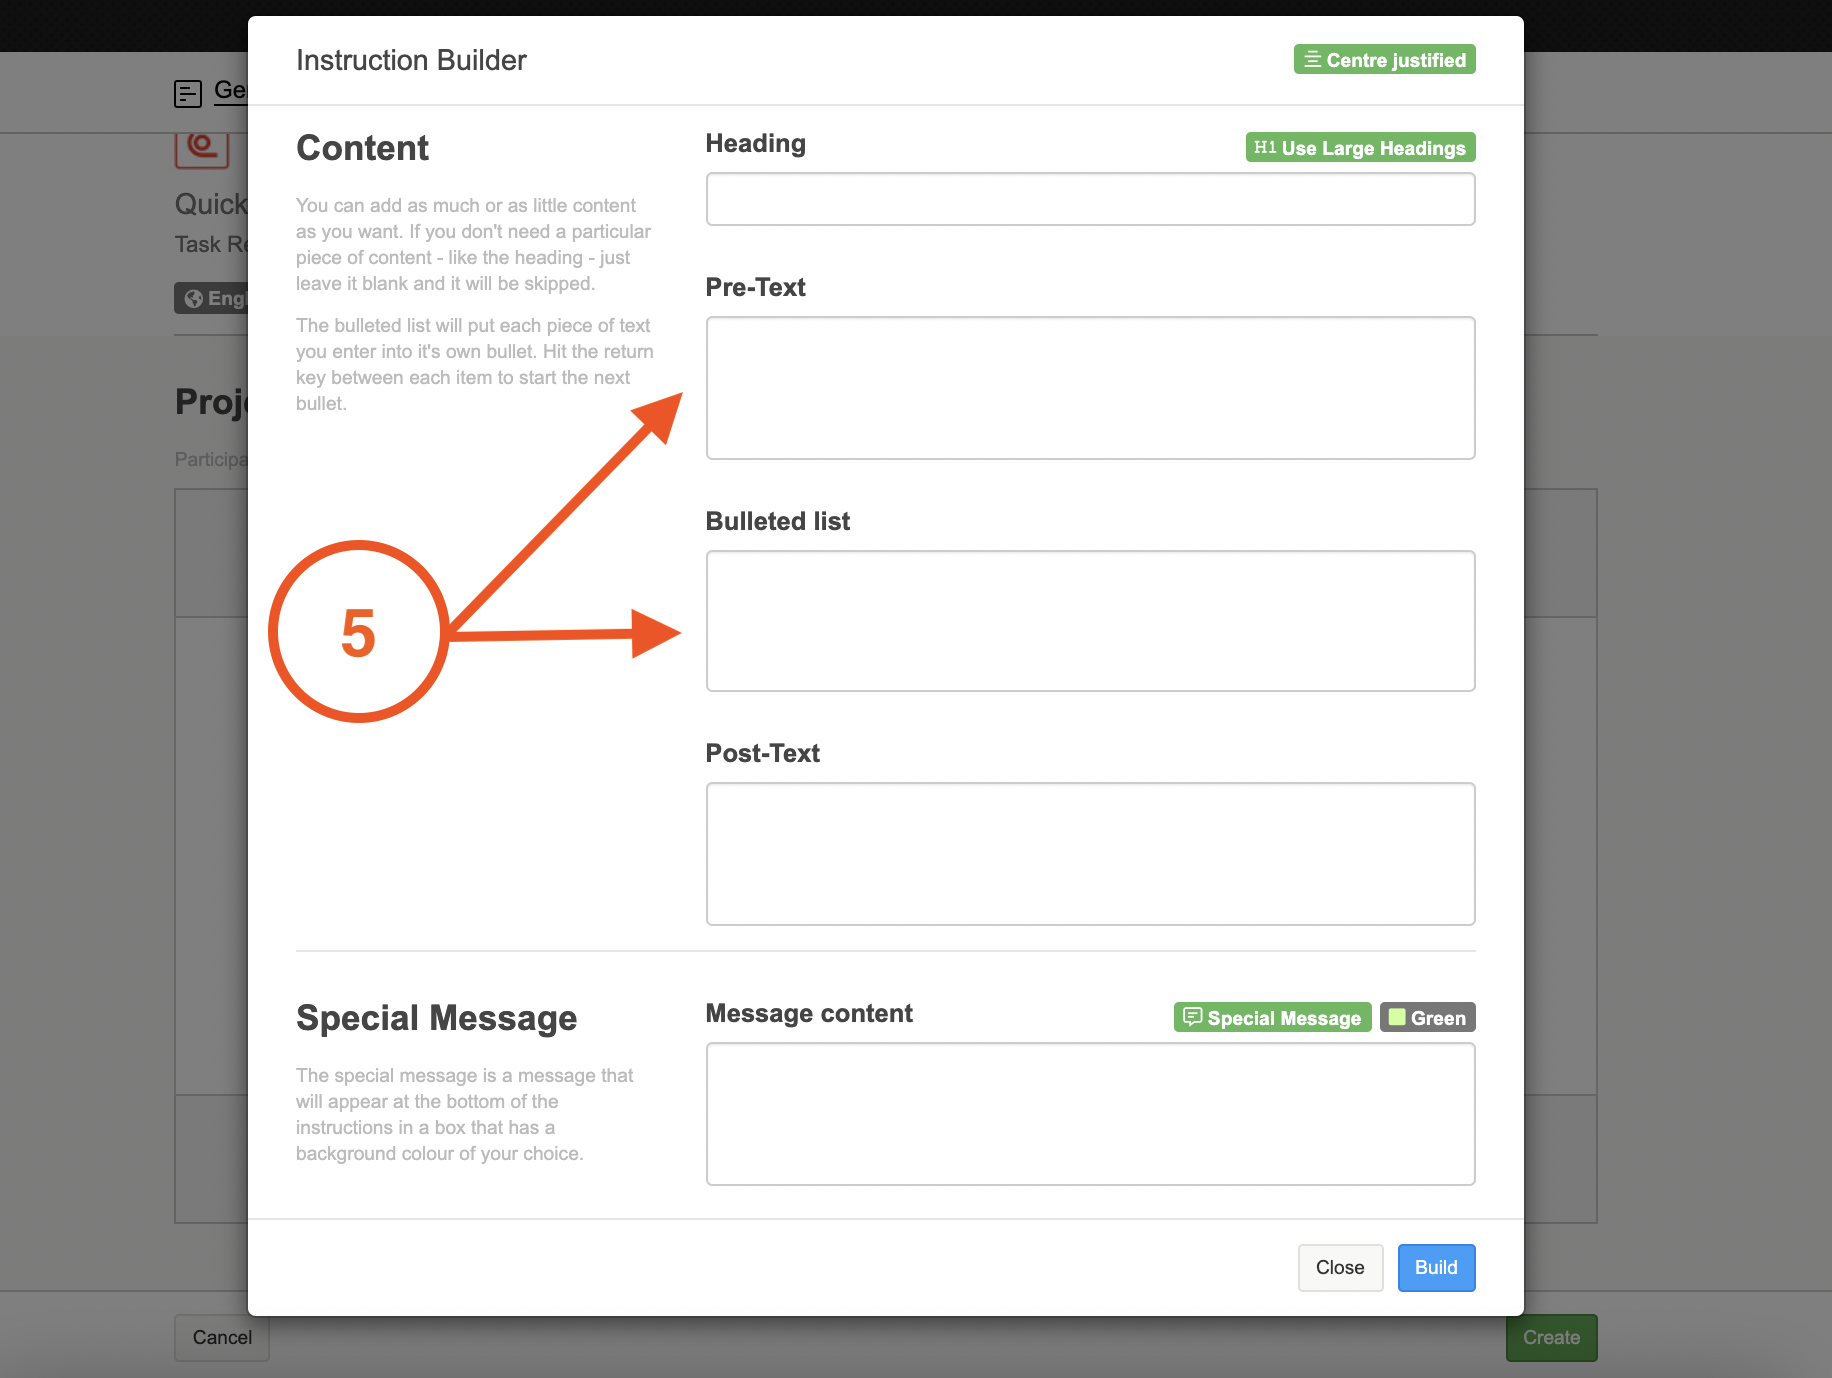
You will also be able to choose whether or not you want your text centre justified, or left justified.
Once you have entered in your content, hit the blue build button to create the introduction.
TIP: If you would like to use our 'choose paragraphs' option, you can do so be clicking on the 'choose paragraphs' button next to the 'instruction builder button'. If you have already added in some content using the instruction builder and would like to add in more, click on the grey arrow poking out on the right hand side of the screen to bring up the paragraph menu.
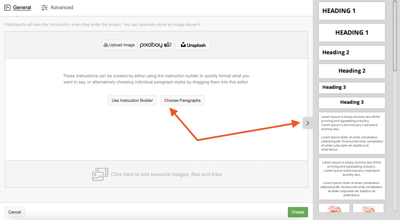
To use the paragraph of your choice, drag it from the grey menu bar onto the instructuction builder space.
A grey bar will appear where the paragraph will be placed. If you are happy with the positioning then drop it into place. If you are not, move it around until it is where you would like it.
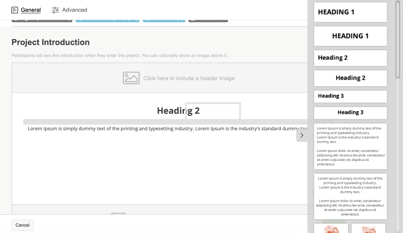
To edit the text in the paragraph, click into it and remove the standard text and replace with your own.
6. You may also want to include an introductory video, or a document that contains some further information, you can do this in the resources section.
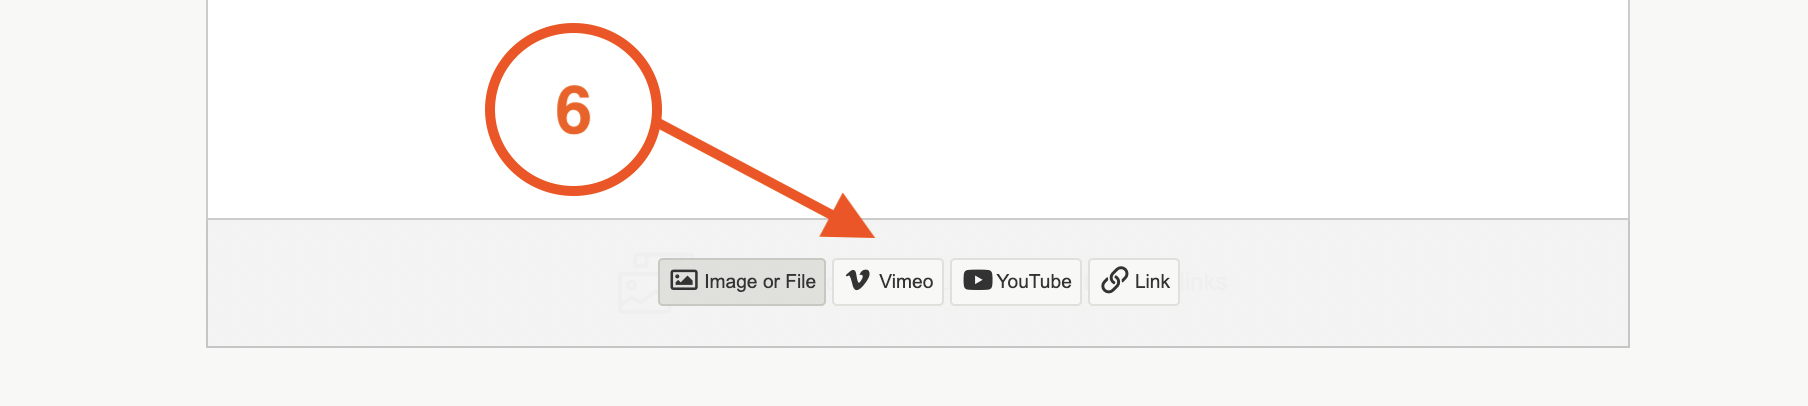
If you want to upload a video we recommend adding your video to youtube or vimeo first, as it will be easier to embed into the platform.
TIP: To embed your video onto the platform you will need a specific code, this differs between Vimeo and Youtube.
- For videos uploaded to Vimeo, you will need the numbers at the end of the URL - vimeo.com/588284267
- For videos uploaded to Youtube, you will need the letters and numbers at the end of the video URL - youtu.be/jNQXAC9IVRw
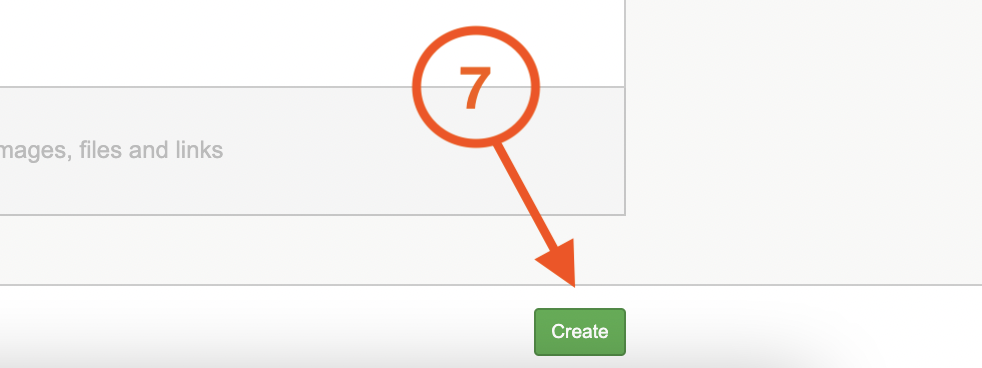
7. Once you are happy with the content you have uploaded, hit create to finish setting up the project introduction.
To learn more about the project settings, please read our article here.
If you need any more assistance, or have any questions then please get in touch with our friendly support team who will gladly assist you. You can reach them at hello@qualzy.co.uk